DIY Chalk Paint Experiment
This is the time of the year where I enjoy working on projects out in the garage. For a year or two I have seen other bloggers singing the praises of chalk paint. If you’ve ever seen chalk paint in the stores you know that it is EXPENSIVE! Recently I read an article on SalvagedInspirations.com where Denise compared the top 5 DIY chalk paint recipes. Here’s a bit about my experience with chalk paint…
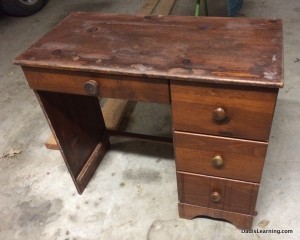
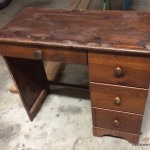
My parents always find some good deals on furniture and are happy to let me experiment with some of the pieces. They picked up a solid child’s desk for $5 at a garage sale. With stained furniture my Dad will often use some stain restorer to fix the furniture up with great results. This little desk was too far gone and it was time for some paint.
I used the calcium carbonate recipe for chalk paint. Calcium carbonate is basically ground up chalk that is most often used among home brewers to bring down acidity levels. I picked up a bag for $10 on Amazon but you can find it locally at any home brew vendor. The recipe is simple. Combine two parts latex paint with one part calcium carbonate and mix VERY well. I used 1 cup of paint and a half cup of calcium carbonate to paint the entire desk twice…and there were still leftovers.
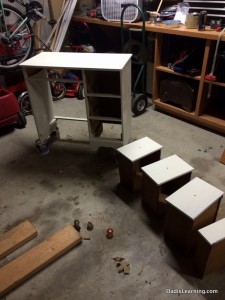
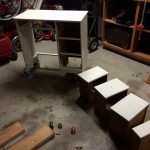
Painting with DIY chalk paint is about the easiest kind of painting you will do. The desk surface really required no preparation. I wiped it down with alcohol to make sure that any oils or dust were removed. You don’t have to sand or strip! I applied my white paint over the dark stain and had 98% coverage on the first coat.
My chalk paint took about 40 minutes to dry to the touch since it was about 50 degrees in the garage. As chalk paint dries brush strokes pretty much disappear as the heavy paint settles. I chose to lightly sand between the first and second coat, but you don’t necessarily have to do that. A second coat provided solid 100% coverage for this little desk.
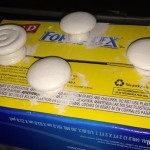
A little tip if you’ve never painted drawer knobs before. Find a cardboard box to mount the knobs to. I punch little holes, slide the screws through the cardboard then tighten down the knobs onto the screws. If you make small holes the cardboard will provide enough friction to keep the knob from spinning while you are painting it with a little brush. Several light coats produce the best results.
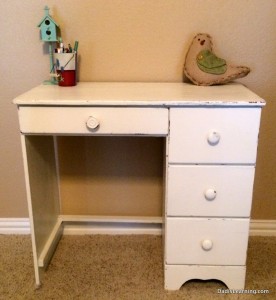
The next day I did some distressing on the edges of the desk and the knobs. I prefer to have everything put back together so I can see what it looks like as I am working. I like to use a foam sand block to do distressing. I am not the best at creating the ‘aged’ look but it is fairly hard to mess up. Obviously distressing a piece is not for everyone. This piece needed to be distressed to cover some scratches and dings in the drawers and work surface.
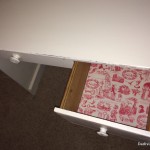
When you read about chalk paint, some sites will tell you to seal the painted piece and others will say to leave it. I believe you should seal the painted piece, especially if you have distressed it. I had some Minwax Wipe-On Poly (satin finish) that I used for a previous project. There is also wax that is made for this type of application. I believe a hand-rubbed finish provides the best final product when dealing with chalk paint. One coat is probably enough but two coats doesn’t hurt. I cut some scrapbook paper to line the bottom of the drawers and I was done.
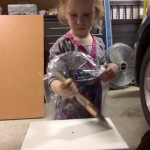
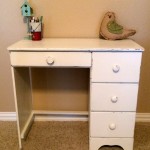
In total this little desk took about 2.5 hours from start to finish. Of course that time was spread out over three days. DIY chalk paint applies fast and doesn’t have to be perfect. You can’t tell the difference between the drawers that my 6 year-old daughter painted and the ones that I painted. The only expense was the calcium carbonate. There is enough left for at least another 9 desks.
I will definitely be using DIY chalk paint again. It provides a very unique feeling finish and the application is easier than just about any paint I have ever used. By the way, don’t try using a roller with this stuff!
(If you’re interested in buying the desk my parents have it in their booth at the antique mall. Shoot me a message and I can send you the address.)
- Lined drawers provide a clean, finished look and provide a ‘pop’ of color.
- Mount knobs to a cardboard box for easier painting.
- After the first coat of DIY chalk paint.
- The $5 desk before my DIY chalk paint experiment.
- My young assistant.
- The finished project. I am a fan of DIY chalk paint.

Pingback: Tips for Buying and Restoring Used Furniture - Dad Is Learning